| Some simple trials props |
| Some simple trials props |
|
Welcome to the world of trials! Trials on a unicycle, is that difficult? Well, just as difficult as you make it yourself. When you see the cracks trialling, you might think it's not for you. But hey, they've started simple too! For the entry level trials riders that we are ourselves, I've made these simple props (objects). (Participants in the unicycle tour of the Dutch Juggling Festival 2004 might recognise them too.) I've put them up here so that others can use the designs, insofar these simple contraptions deserve to be called designs. All information on this page is free to use. Riding tip: let some air out of your tyre; it will squish a little, and better absorb drops and edges. For your safety it might be sensible to don some protective gear, such as a helmet, wrist protectors, knee caps etc. Up to yourself of course, but at least I've said it. In some pictures a 20" unicycle is included (not a trials uni, we don't have one yet). I've done this to give a hint about size of the props. I haven't prescribed any precise dimensions, they'd rather depend on the material you happen to have around. Incidentally, my neighbour renovated the façades of his house at the time I made this stuff, and the large waste container was in the street. |
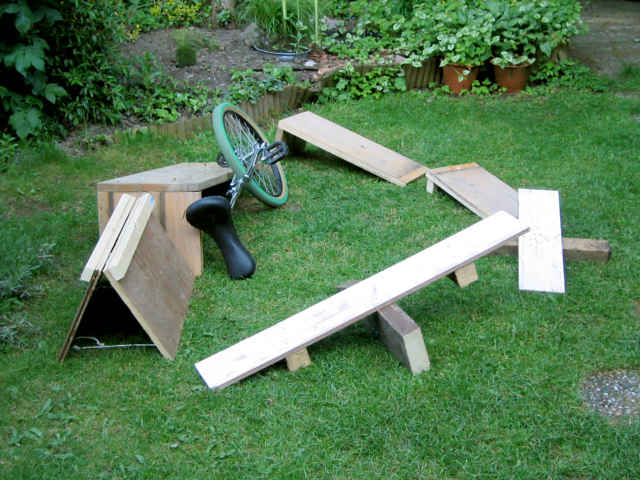
| You could ride them in this circle. We also have cable spools (below) and pallets. |
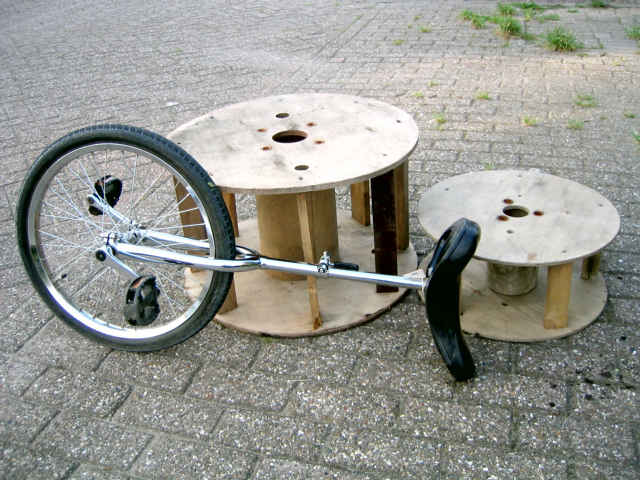
| These cable spools are from the waste container of a construction site (yes I did ask). They were too weak to carry a unicyclist, but there's usually a deposit on the stronger spools so you won't get them for free. Therefore, I put some reinforcing beams in them. They're attached with only one screw on each end, allowing them to rotate higgledy-piggledy but who cares. |
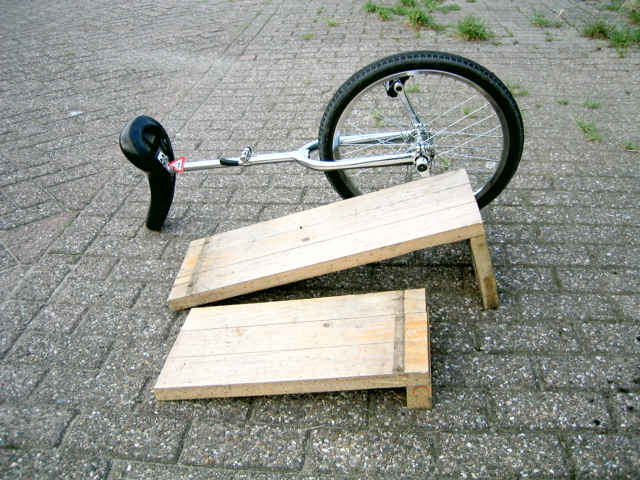
| Two jump ramps to ride off of, made out of an obsolete tabletop. The smallest ramp is just 10 cm high, and doable for anyone who can ride a unicycle. Especially if a friend can give you a hand for support. |
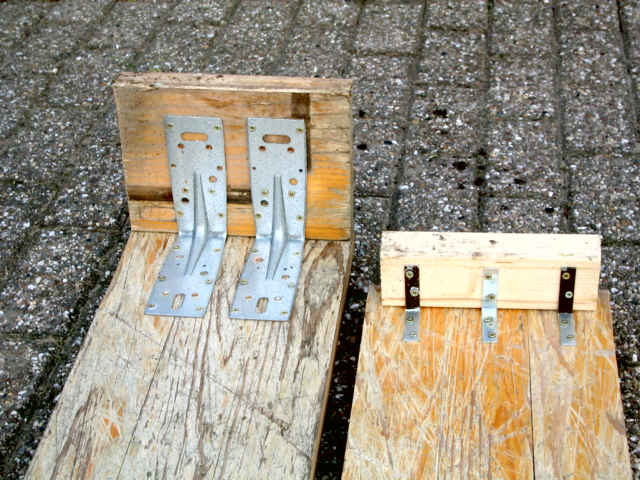
| The bottom side of these ramps. Because the tabletop had been lying outside for some time, the glue that held together the strips of wood was weak; that's why I've used several pieces of ironware (how do you call these in English?). |
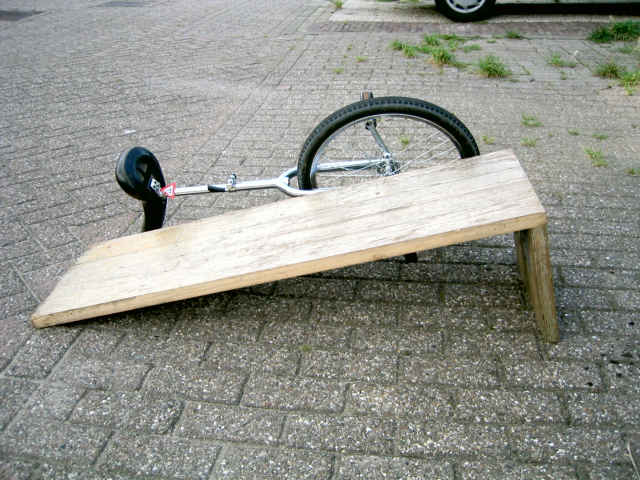
| The biggest ramp, 33 cm high. If you dare you can tackle it at high speed and then you will fly a bit! |
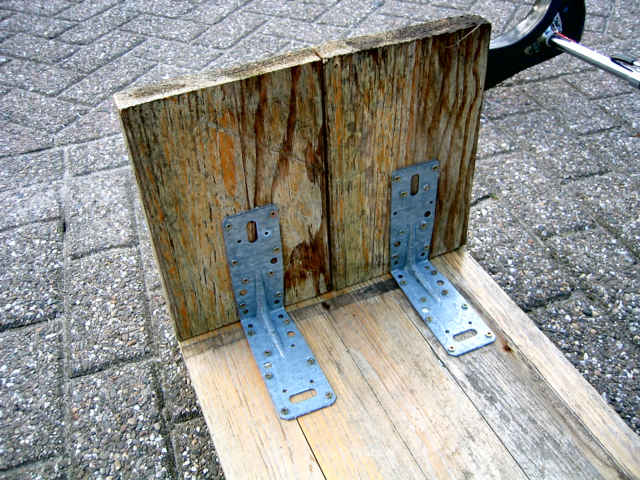
| Bottom side view of the large jumping ramp. |
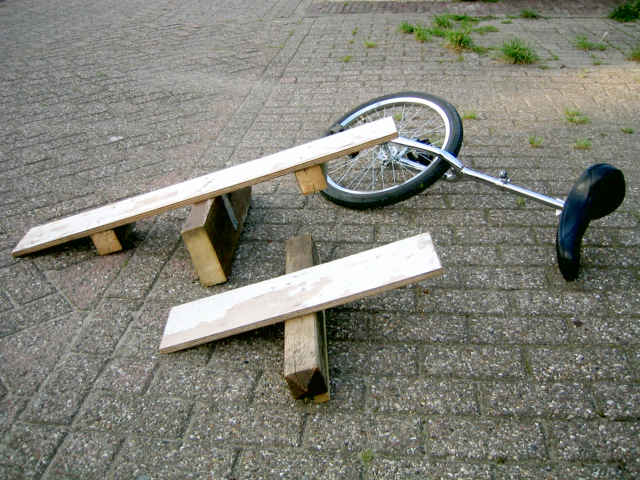
| Two teeter-totters. When you ride them, you'd best imagine a little hill (up AND down), otherwise you'll be taken by surprise at the flipping point. The additional blocks under the large teeter-totter support the board if you ride on it, without them it bent a whole lot. |
| The small one insisted it was a capital T, so I screwed an additional lath onto it to have it slant. With the large teeter-totter, I just put the large beam somewhat off the middle so that the whole thing is off-balance. |
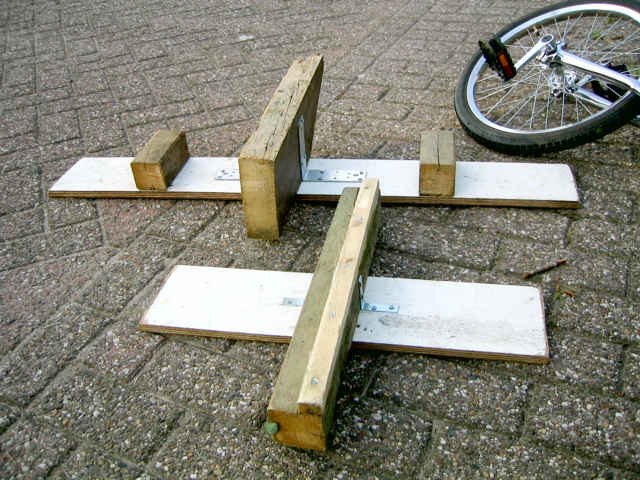
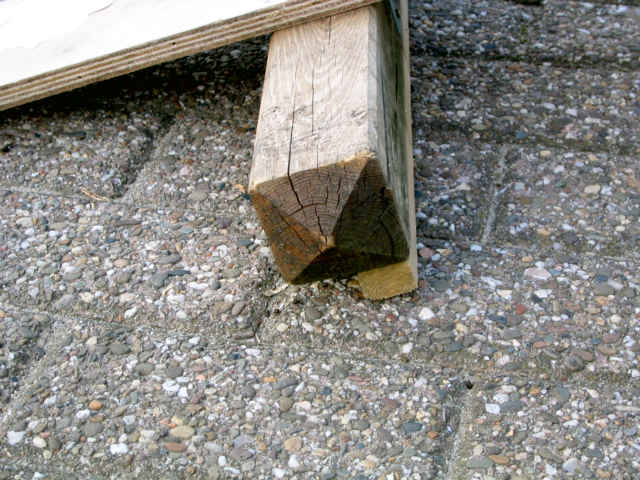
| Teeter-totters's underside. The middle beam is attached with screws from the top as well as some ironware at the bottom. |
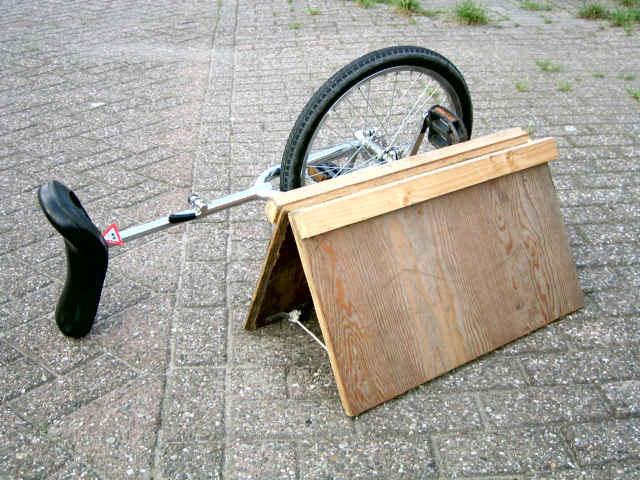
| This is called a sandwich board, and can easily be folded to a small volume. The angle at the top is somewhat less than 60°. The two beams at the top serve to widen the riding surface, and also accept the screws that fix the hinges. If you get good, you can directly jump onto a sandwich board, but what we do is ride on it via a jumping ramp or via two or three stacked pallets. |
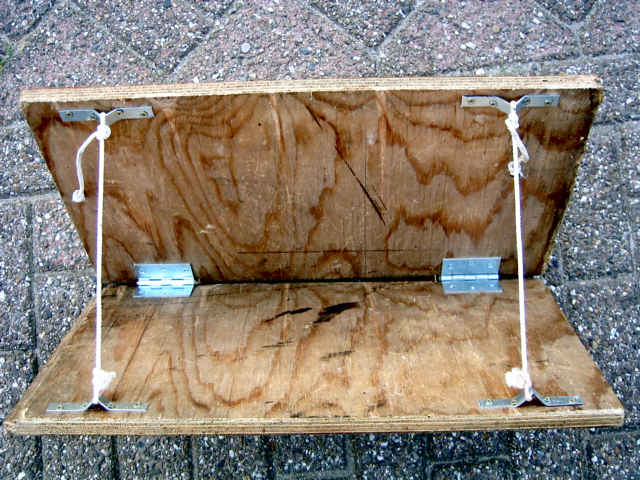
| The sandwich board has two hinges, and two ropes that prevent it from folding flat if you ride it or jump on it. |
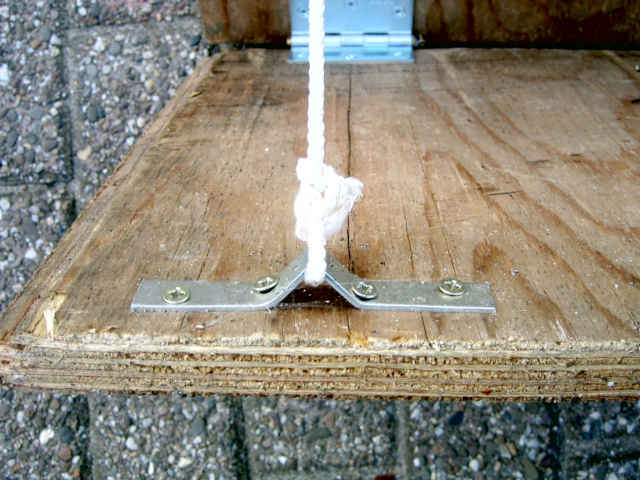
| This is how I attached the rope (I bent the ironware myself), but of course there are other ways. |
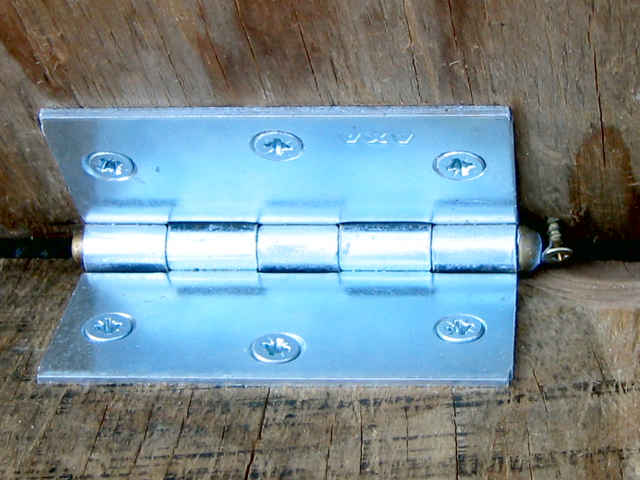
| Detail: the hinge pin is arrested by a little screw so that it doesn't fall out. |
|
Back to Unicycling projects |